Creating Bokeh using a DSLR
Have a camera? Awesome. Photographing bokeh textures is super easy, all you need is a suitable light source. Here I’ve used a small set of christmas lights, but other things will work too: city skylings at night, streetlights, stars, just have some playing around with it.
I’ll be using an older model Canon Rebel with a stock lens to shoot these. First, I set up the lights in front of a black curtain. It helps if you can isolate the light source as much as possible.
For this image, I used the following settings: zoomed into 55mm, shutter: 1/100 sec, F5.6, manual focus set to blur the image.
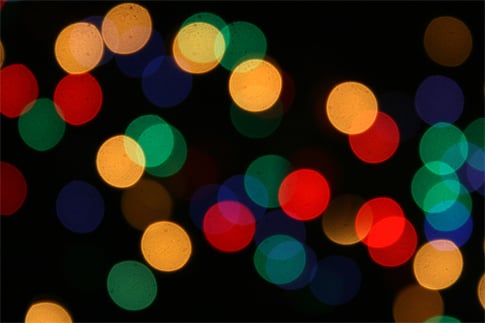
By simply reducing the aperture to F9 to you can control the size of the individual bokeh:
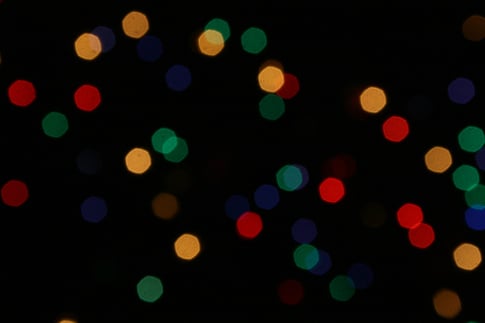
And that’s it! Pretty simple, eh? Creating textures with a digital camera is super easy, but you can take it further by experimenting with using different settings in-camera, various light sources, and playing around with the images in photoshop. There are tons of possibilities.
Creating Bokeh in Photoshop:
Don’t have a camera? That’s okay too, it’s possible to replicate the bokeh effect completely in Photoshop, and it’s nearly as easy.
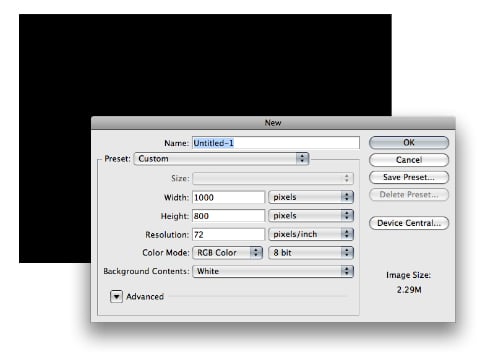
Step one – Create a new document
I’ve created a new document sized 1200px x 800px and set the background color to #000.
Step two – Download the Brushes
We’ll be using this bokeh brush set from DeviantArt. Once downloaded simply import the file into PS.
Step three – Adjust brush settings
Open up the Brushes panel and use the following settings. They’ll help give the image a more natural feel by scattering the size and opacity of the individual bokeh.
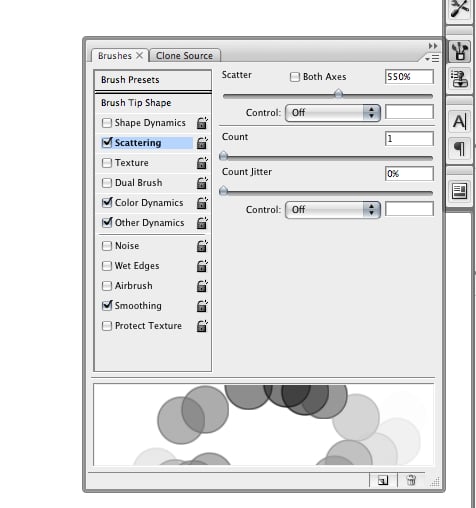


Step four – Brush the bokeh
Set the brush tool to 150px and the color to and pick a nice deep blue color. Simple run the brush over the document once or twice to create a set of colored bokeh.

Step five – Add blur
After making the first layer of bokeh, add a little blue using the following settings.

Step six – Brush and blur more layers
Continue adding and blurring new layers of individual bokeh until you get the effect you’re trying to achieve.

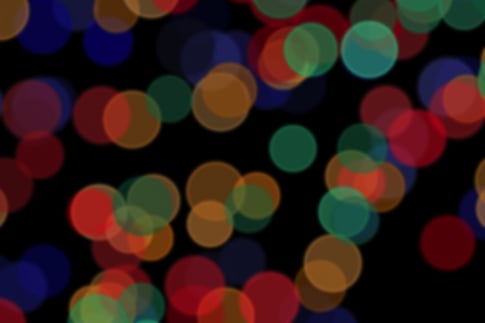
Step seven – Final adjustments
Add a gradient: Flatten the image and open up the Layer Styles panel. Add a subtle gradient overlay to the layer using the following settings. This will give the final texture a little more focus and natural feel.
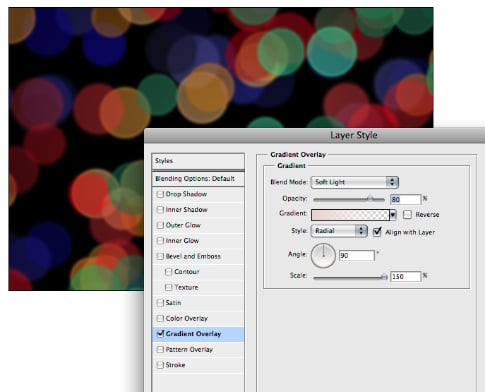
Adjust the levels: use the settings below to help bring out the details.

Add grain: use the Add Grain filter to help replicate the photographic effect.

Unsharp Mask: the last step I’ve taken is to sharpen the entire image significantly. I think it helps brighten up the brighten up the image and bring everything together as a whole.

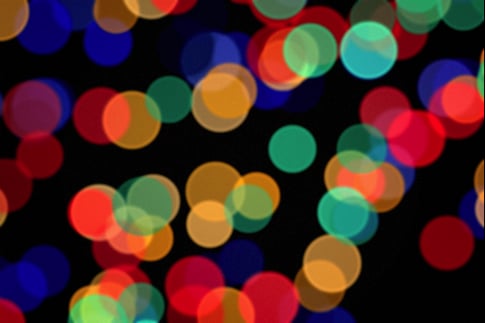
Step Eight – Finished
That’s it! What do you think of the final image?
Showcase of bokeh images
Here’s just a small selection of the bokeh images that people have made, there are tons of possibilities and these serve as good inspiration. All images belong to the original photographers.
Bokeh by M88G

Pink by proud-oh-faith

bokeh by plastimodelismo_akira

Abstract LED Lights & Bokeh by dsambells

nuit bokeh by fotoarianna
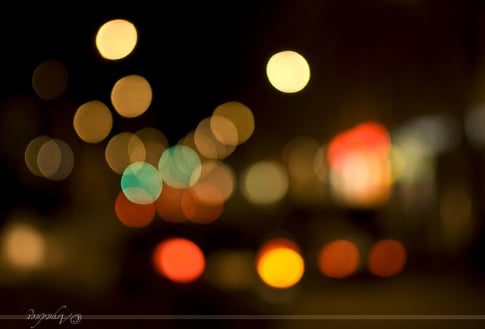
Christmas Bokeh by firepretty

No comments:
Post a Comment